As classrooms get more and more diverse, it is important that as a teacher you have projects that are accessible to everyone but also allow students to go deep and push their learning past expectations, standards, and prescriptive outcomes. This means you need activities that are rich, meaningful, open ended, and flexible enough that a student in early years can complete them but at the same time a high school student can still learn authentic, relevant, and meaningful skills and concepts along the way. As a teacher, this means you need to function as a facilitator, mentor, and guide rather than someone who only delivers content. I try to design my multimedia project activities in a way that allows students to complete it at their own individual level while offering opportunities to go beyond and push themselves when needed. Here is a break down of what I call the “Photo Story” project that I have been implementing this school year.
The Photo Story
This project is essentially a narrated photo video that can have a stop motion or video component. It should tell a story in a clear way that is supported by the visuals. As they work, students should be developing
- Writing skills (writing a narrative story script)
- Planning and visualization skills while creating shot lists and storyboards
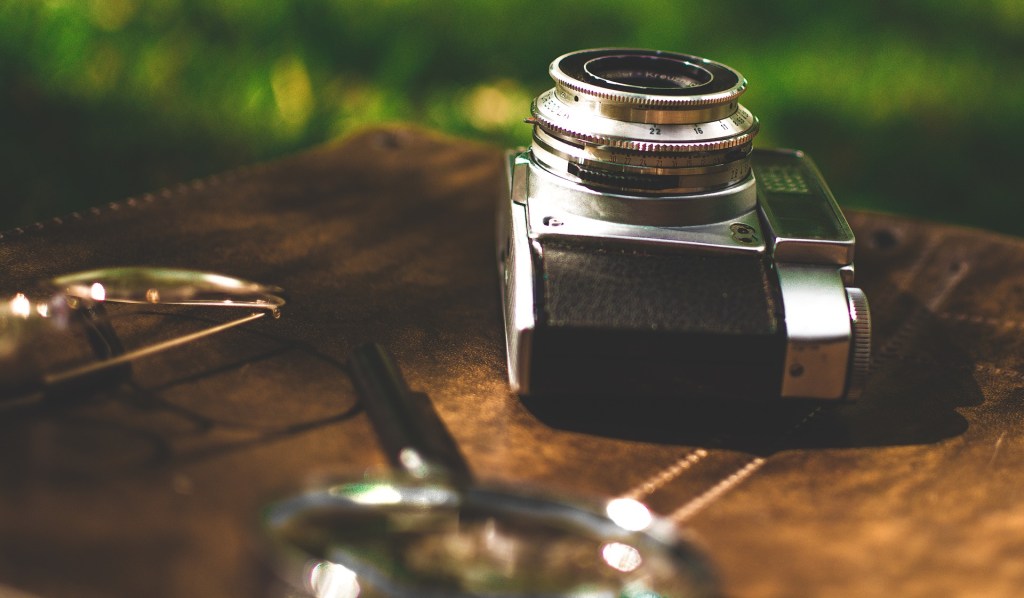
- Understanding and application of using a DSLR camera to an appropriate level
- Understanding of photography concepts
- Computer use skills regarding importing files, organizing files, downloading files, etc.
- Video editing skills
- Presentation skills while rehearsing and recording spoken word narration
- Other areas can be targeted as well including photo editing, spelling, grammar, narrative structure, representing, etc
Introduction
I begin this project by teaching students about using DSLR cameras. This includes some basic procedural knowledge about taking pictures while paying attention to focus, lighting, and framing. Depending on the group of students, I may go into more details on camera modes extending to manual settings including ISO, aperture, and f-stop. I always give students opportunities to try out the equipment and take some practice photos, while offering tips and guidance to them as they work.
Pre-Production

To get started I ask the students to get into groups of two (three is also ok, but not four). I encourage them to brainstorm and map out a story (beginning, middle, end) that includes some conflict. I suggest that it takes place in a school and has some sort of real element. It could be a comedy, realistic, and relevant to students. At the end of the day, the story content can really be whatever you want it to be, but I try to get the students actively writing or working right away while limiting my own talking.
Once they have an idea I ask them to write out their story in a format that resembles a story you would tell someone. I emphasize the use of specific and descriptive language that can be visualized similar to the way that you might write a screenplay for a film. Throughout this process I work with students to develop these stories/scripts to a level that is appropriate for their abilities. Every piece of writing is expected to be revised at some point. This provides an opportunity for students to receive feedback in areas that they can continue to learn about.
The next step is to begin the visualization process of creating a storyboard and shot-list. I have some templates that I use, but this is something that can be easily modified or created. Teaching students about shot types, angles, and perspectives is important here. I encourage them to imagine what their story looks like on screen and to draw out the key points or beats. Because students can have dramatically different drawing abilities, I leave this open ended as I tell students that they can draw in detail or even just do stick figures.
Production
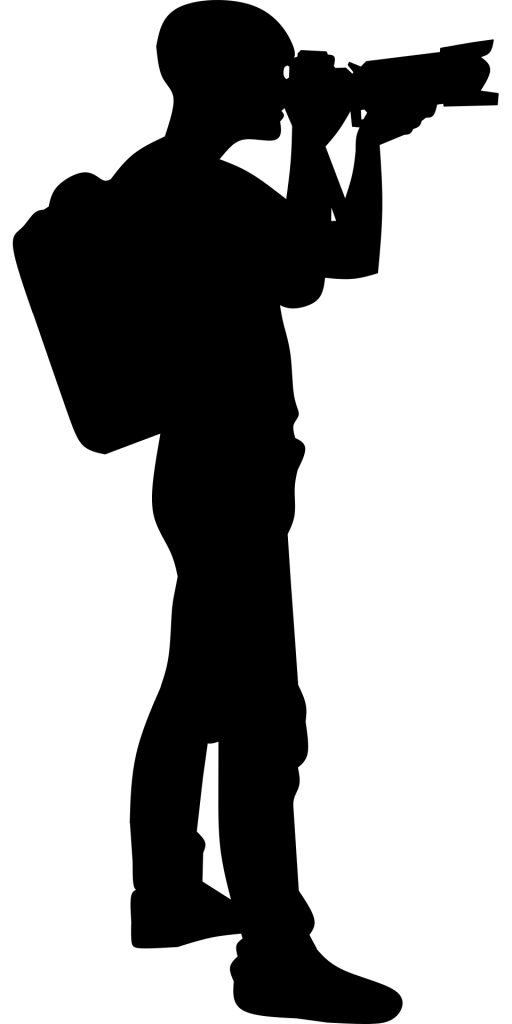
Once students have completed a script and storyboard, I review it to make sure that the project is feasible and appropriate. When students get my go ahead, they can start shooting their photos. I always give criteria that the photos must be in focus and well framed. Depending on the group, I will sometimes extend the criteria further to include some tasks such as having a photo with motion blur, or having an action shot that is crisp with a fast shutter speed. It is important to find ways that the students can challenge themselves by taking more visually complex pictures or by exploring more advanced settings on the camera.
Allowing students to work outside of the regular classroom is important here as it allows them to be independent and more creative with their projects. When doing this, it is essential that you establish a set of norms for how students interact and behave in school hallways or other spaces. This can help build positive communication and behaviour skills.
Post-production
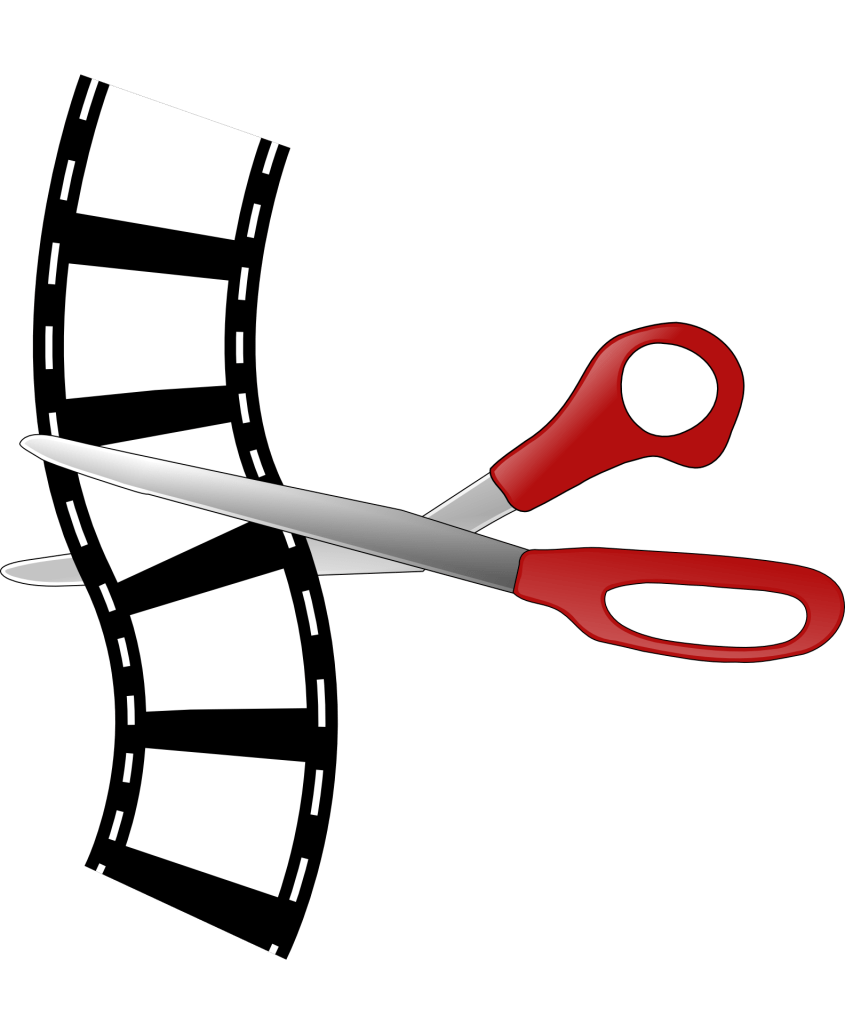
This is where we are moving to the final stages of the project. Students need to import their media files, manage or organize them, edit them together, and record voice over narration. My recommendation for software is iMovie as it is user friendly, but I know of others who use Filmora or Windows Movie Maker.
Once students have imported or copied their files, they need to get them arranged in the video editor. That means placing them in order with the proper timing. Usually about five seconds per photo is good. When this is complete, students can get ready to record their voice overs. I always recommend rehearsing for awhile first. I recommend using USB microphones to record as they are typically plug and play set ups. A major emphasis needs to be placed on students choosing the correct input device in their program settings, as this is where I often see mistakes made as the computers will sometimes default to webcam microphones.
Eventually, when students have a strong recording where the audio is clear and their is almost no unwanted noise, students should be adding titles, credits, and a number of sound effects to complete their project. A peer review provides an opportunity for revision suggestions as well.
Assessment
When I have students work on a project like this, I try observe and have conversations with students as they progress to record observations and notes to assess how students fit into a rubric that I have created which then can be co-revised with my students. This is an ongoing and constantly evolving process that can change from class to class.
Final Thoughts
The project I have described above is one that is easily modified. As a teacher, there are always things that come up that require you to make changes. Keeping the project open ended is essential, as some students will be able to excel and exceed your expectations. Some of the projects have transformed into stop motion animation work, while others have become documentary films. I have included some resources below that could be helpful as well.
